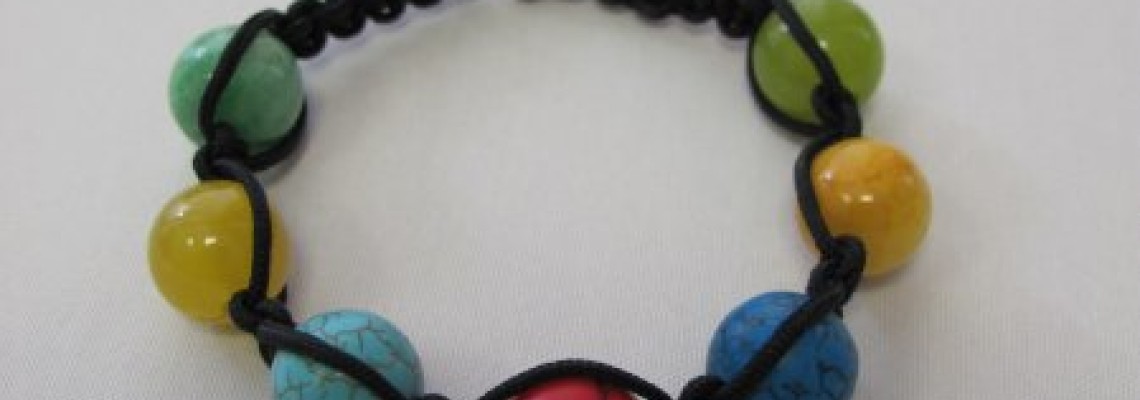
How to make a Shambhala bracelet
According to ancient legends, behind the ice-covered walls of the Himalayas, where infinite deserts stretch, as well as unexplored mountain peaks that are even steeper than the Himalayas themselves, there is a mystical land called Shambhala.
In early Buddhist texts, Shambhala is mentioned as a source of esoteric wisdom, a place of supreme harmony where absolute virtue, peace and quiet reign. This enigmatic place is the motherland of the mystic Shambhala bracelets of Tibet.
Shambhala bracelets are an ancient Tibetan decoration worn by Buddhist monks in the monasteries of the Far East, which they use in meditation, in their striving to attain supreme harmony.
The Tibetan Shambhala bracelets are made of complex stitches, with gemstones woven in, the combination of which influences your inner energy Qi (Chi). For this reason it is important to choose carefully the stone that suits best your personality, personal wishes or aims.
Today the Shambhala bracelets of Tibet are extremely popular among celebrities. A number of Hollywood celebrities wear Shambhala bracelets as an exquisite adornment, as well as to achieve inner harmony, spiritual peace of mind and their personal goals.
Tibetan Shambhala bracelets are completely hand-made. According to Feng Shui, they bring luck and reflect your individual nature. They are both beautiful Jewellery and a mascot which brings power, peace of mind and love. In Tibet they have been an amulet for luck, harmony, health and prosperity of all kinds for centuries!

Required materials and tools:
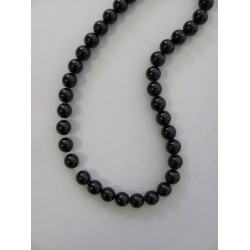
-Twelve 8 mm beads
-One 10 mm crystal bead
-Two 4 to 6 mm black beads
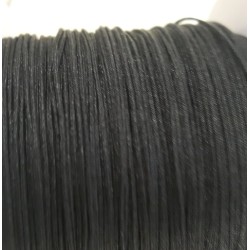
-black polyester cord – about 1.60 m long
-scissors
-a lighter
You can find all the materials you need in Paola Apologna’s HOBBY Shop – Sofia, 6 Tri Ushi Str.
1.Initial knot:
STEP 1 : Start making the bracelet by cutting three pieces of cord of the following lengths: 40 cm, 40 cm and 80 cm (Fig.1-1)
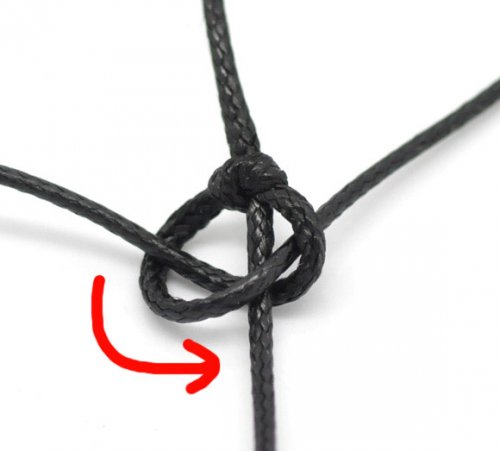
STEP 2: Fold the 80 cm-long cord in two and make a knot in the centre (do not tighten to the end); two ends, 40 cm either, are formed (Fig. 1-2)
STEP 3: Thread the cord through the knot and tighten it (Fig.1-3)
2.Square (basic) knot:
STEP 1: Put the right cord under the central cord then cover the left end with it. Let this end of the cord free (Fig.2-1)
STEP 2: Pass the left end of the cord above the central and under the right end. Pull the two ends to tighten the knot (Fig.2-2)
STEP 3: Move the left end under the central cord then put it above the right end (Fig 2-3)
STEP 4: Pass the right end above the central cord and thread it under the left end again (Fig. 2-4)
STEP 5: Pull the two ends (the left and the right one) of the cord to tighten the knot. This is how a square knot is made (Fig. 2-5)
3.Adding beads
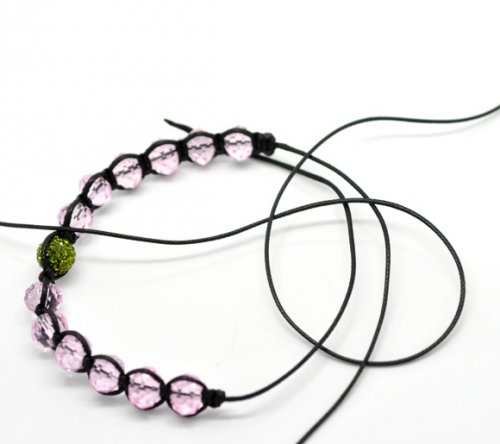
STEP 1: Thread the crystal bead through the central cord (Fig. 3-1)
STEP 2: Then make another square knot (Fig. 3-2)
STEP 3: Repeat steps 1 and 2 to the sixth crystal bead. After that make one and a half square knots as is shown the red circle (Fig. 3-3)
STEP 4: Put the crystal ball on the central cord. Make one and a half square knots after it (Fig. 3-4)
STEP 5: Repeat steps 1 and 2, adding the remaining six beads. Make two square knots after the last bead (Fig. 3-5)
STEP 6: Cut the excess cord, leaving 5 mm of it (Fig. 3-6)
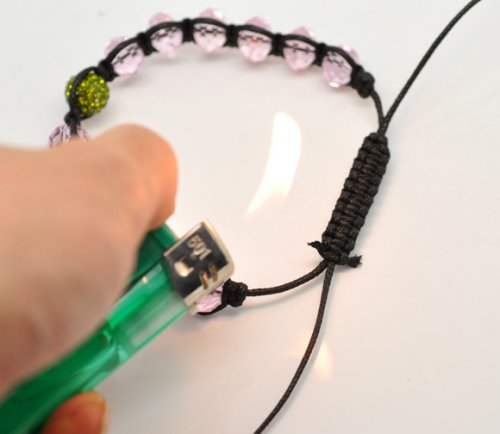
STEP 7: Burn very slightly the cord from both ends with the lighter so that it does not burn but just ‘melt’ until it reaches the knot (Fig. 3-7)
STEP 8: This is the end of the process of adding beads and making the main part of the bracelet (Fig. 3-8)
4.Closing the bracelet:
STEP 1: Bend the ends around in a circle and shape the bracelet then put the two free ends one on top of the other (Fig. 4-1)
STEP 2: With the remaining 40 cm of cord make an initial knot on both ends (Fig. 4-2)
STEP 3: Put the bracelet on your wrist and mark the right size so that it is comfortable. After that, start making square knots according to the desired length (Fig. 4-3).
STEP 4: Make square knots of the necessary length (they may be 5 to 10) (Fig. 4-4)
STEP 5: Cut the excess cord from both sides at a distance of 5 mm from the last knot (Fig.4-5)
STEP 6: Melt the excess 5 mm of cord from both sides (Fig. 4-6)
STEP 7: Put the two black beads and tie in a knot the two ends of the cord. Cut away the excess length (Fig. 4-7)
*For these publications materials from ‘Dora Beads’ have been used .
Some additional advice on making Shambhala bracelets:
The main cord can be fixed on something stable like a board or a hard book cover and a metal clip can be used to fix the cord, or it can simply be glued to the table with an adhesive tape.
When techniques making the work faster are used, the beads should be strung in advance.
And perhaps the most important thing in order to avoid mistakes is to ‘mark’ one of the two interlacing cords. You can do this by tying a simple knot at the end of the right cord.
It is important that the thickness of the cord fits the hole of the beads. For example, semi-precious stones, river pearls and crystal beads usually have narrow holes. In this case it is good to choose a main cord which is about 1 mm thick; it should not necessarily be a polyester cord. The main cord can be thin but strong, while the interlacing cords can be different from it.
If you do not knit a polyester cord but another one (for example, cotton), use glue for the ends (it is best to use cyanoacrylate instant glue). Put a drop between the cut end and the last ‘ear’, then press for a few seconds. If some glue emerges, do not touch with your fingers (you have applied more than necessary). Use pliers or another hard object.
The adhesive can also be useful for hardening at the end of the cord when you string the beads. Apply a very thin, 1 to 2 cm strip and wait for about 10 seconds. This makes stringing much easier because polyester cords are very soft and larger beads are with longer holes. For hollow beads this procedure is nearly a must.
The square knot is the basic one for macramé. There is one more variant – twisted stitch. You can make it by repeating steps 1 and 2, i.e. the leading end is only the right end. Of course this happens when the number of consecutive knots is larger – only a few beads are used or a ‘pure’ stitch without decoration is made.
If beads are not used for the bracelet, the interlacing cord should be quite a bit longer than 80 cm.
We hope that we have been of use. Do not give up if something is not as it should be. You can always receive competent advice in our shop at No 6 Tri Ushi Str., Sofia, or at telephone 02 980 97 02.
We wish you pleasant entertainment!







Leave a Comment